When your lease is nearing its end, one crucial event stands between you and your security deposit: the lease-end inspection. Whether you’re moving into a new apartment, relocating for work, or upgrading your living situation, preparing for this inspection can help ensure a smooth transition—and the return of your hard-earned deposit.
Let’s dive into what a lease-end inspection entails, how to prepare for it, and what renters should look out for in their final days in the unit.
What Is a Lease-End Inspection?
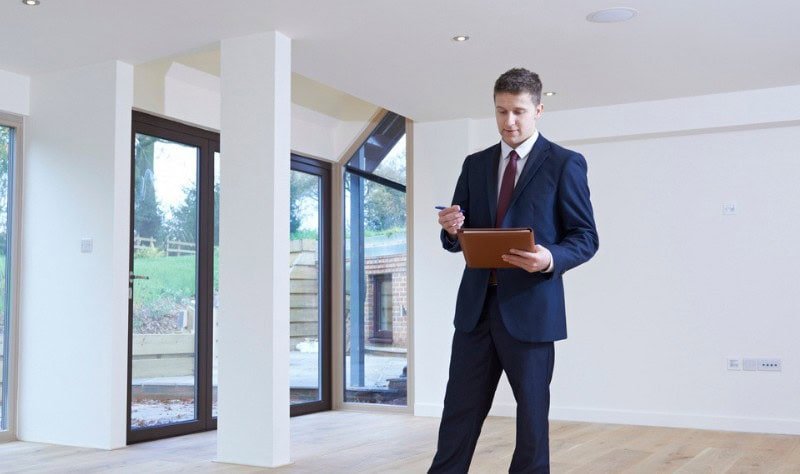
A lease-end inspection, sometimes called a move-out inspection, is a walkthrough of your apartment by your landlord or property manager to evaluate its condition. The goal is to check for any damage beyond normal wear and tear, assess cleanliness, and determine if any repairs or cleaning will be required before the next tenant moves in.
Most landlords will use the move-in condition report as a comparison tool. If you documented any issues when you first moved in, now is the time that record becomes important.
Why It Matters to Renters
The results of this inspection often determine how much of your security deposit you’ll receive back. Unrepaired damages or lack of cleaning could result in deductions—or even losing the entire deposit. Preparing ahead of time can save you hundreds of dollars and protect your rental history.
Step-by-Step Guide to Prepare for a Lease-End Inspection
1. Review Your Lease Agreement
Your lease likely outlines the expectations for move-out, including cleaning responsibilities, notice requirements, and how to return keys or access cards. Highlight any sections related to:
-
Cleaning standards
-
Repair responsibilities
-
Carpet cleaning requirements
-
Painting or wall restoration
Some apartments may require professional carpet cleaning or repainting, while others expect the unit to be in “broom clean” condition.
2. Schedule the Inspection in Advance
Don’t wait until the last minute. Contact your landlord or property manager at least two weeks before your move-out date to schedule the lease-end inspection. This gives you time to make any final fixes or hire help if needed.
Tip: Some properties offer a pre-inspection so you can fix issues before the final walkthrough.
3. Document the Condition with Photos
Just like when you moved in, take timestamped photos or videos of every room after you’ve cleaned and repaired things. This provides a record of the apartment’s condition and protects you in case of any disputes over the deposit.
Be thorough:
-
Floors and carpets
-
Walls and baseboards
-
Windows and blinds
-
Appliances (inside and out)
-
Bathroom fixtures
-
Closets and cabinets
4. Deep Clean the Apartment
Standard tidying won’t cut it here—deep cleaning is essential. If your lease doesn’t require professional cleaning, you can tackle it yourself. Be sure to:
-
Clean ovens, stovetops, microwaves, and refrigerators
-
Wipe down baseboards, blinds, and fans
-
Scrub sinks, showers, and toilets
-
Dust and vacuum every surface
-
Mop hard floors
-
Clean inside cabinets and drawers
If you have pets, address any odors and vacuum up pet hair thoroughly.
5. Repair Minor Damage
Fix any small issues that aren’t considered normal wear and tear. Here are some examples:
-
Patch nail holes and touch up paint
-
Replace broken or missing blinds
-
Tighten loose cabinet doors or knobs
-
Replace burnt-out lightbulbs
-
Reattach closet doors or curtain rods
If you’re unsure what counts as “wear and tear” vs. “damage,” it’s helpful to consult local tenant laws or ask your landlord directly.
6. Check Appliances and Utilities
Make sure all included appliances are functioning. This includes:
-
Running the dishwasher and garbage disposal
-
Ensuring the fridge and freezer are defrosted and wiped clean
-
Testing the stove, oven, and microwave
-
Checking that all lights and fans work
-
Running faucets and toilets to confirm there are no leaks
Some leases require you to leave the utilities on until the final inspection is completed.
7. Clear Out Completely
Don’t leave behind any furniture, trash, or forgotten items. Landlords may charge for removal services, even for something as small as an empty detergent bottle. Do a final walkthrough to ensure:
-
Closets and drawers are empty
-
Trash is taken out
-
Storage areas are cleared
-
Balcony or patio areas are cleaned
8. Return All Keys and Access Devices
Returning all keys, mailbox keys, gate remotes, and access cards is essential. Failure to do so could result in charges for replacements or lock changes. Make sure to return everything in an envelope or bag and request a receipt or confirmation from your landlord.
9. Attend the Inspection (If Possible)
Being present during the inspection allows you to address any concerns in real-time. You can also take additional photos or clarify any issues the landlord points out. If you’re unable to attend, ask for a detailed inspection report and copies of any photos taken.
10. Follow Up on the Security Deposit
In most states, landlords are required by law to return the security deposit (or provide an itemized list of deductions) within 14 to 30 days. Check your local laws or government housing website for exact timelines (such as texas.gov for Texas renters).
If deductions were made unfairly, you have the right to dispute them. Provide your documentation, photos, and receipts to make your case.
Lease-end inspections are not something to fear—they’re a normal part of the rental process. By planning ahead, cleaning thoroughly, and documenting everything, you’ll not only leave a great impression but also maximize your chances of getting your full deposit back.
Apartment living is all about managing shared spaces responsibly. So whether you’re upgrading to a bigger unit, relocating, or just moving on, take pride in leaving your space in top condition. You’ll save money, avoid headaches, and leave the door open for glowing rental references in the future.
Pro Tip: Thinking of renting again soon? Use your current move-out checklist as a future move-in checklist—because great renting habits go full circle.


https://shorturl.fm/M945p
https://shorturl.fm/RxsHh
https://shorturl.fm/1Igyf
https://shorturl.fm/0uwsC
https://shorturl.fm/HnB7g
https://shorturl.fm/VFoZN
https://shorturl.fm/TgTEd
https://shorturl.fm/vyRTb
https://shorturl.fm/GdSis
https://shorturl.fm/vzixX
https://shorturl.fm/MG08s
https://shorturl.fm/11CQm
https://shorturl.fm/9fohI
https://shorturl.fm/GjPly
https://shorturl.fm/8XdxX
https://shorturl.fm/ox5zp
https://shorturl.fm/7VIGI
https://shorturl.fm/pXa15
https://shorturl.fm/l3tkB
https://shorturl.fm/XpU3d